Attribute id ใช้เพื่อระบุรหัสเฉพาะสำหรับองค์ประกอบ HTML
คุณไม่สามารถมีมากกว่าหนึ่งองค์ประกอบที่มีรหัสเดียวกันในเอกสาร HTML
การใช้ Attribute id
Attribute id ระบุรหัสเฉพาะสำหรับองค์ประกอบ HTML ค่าของ Attribute id ต้องไม่ซ้ำกันในเอกสาร HTML
Attribute id ใช้เพื่อชี้ไปที่การประกาศสไตล์เฉพาะในสไตล์ชีต นอกจากนี้ยังใช้โดย JavaScript เพื่อเข้าถึงและจัดการองค์ประกอบด้วยรหัสเฉพาะ
ไวยากรณ์สำหรับรหัสคือ: เขียนแฮช (#) ตามด้วยชื่อรหัส จากนั้นกำหนดคุณสมบัติ CSS ภายในวงเล็บปีกกา { }
ในตัวอย่างต่อไปนี้ เรามีองค์ประกอบที่ชี้ไปที่ชื่อรหัส “myHeader” องค์ประกอบนี้ จะจัดสไตล์ตาม #myHeader คำจำกัดความของสไตล์ในส่วนหัว:
ตัวอย่าง
<!DOCTYPE html>
<html>
<head>
<style>
#myHeader {
  background-color: lightblue;
  color: black;
  padding: 40px;
  text-align: center;
}
</style>
</head>
<body>

<h2>The id Attribute</h2>
<p>Use CSS to style an element with the id "myHeader":</p>

<h1 id="myHeader">My Header</h1>

</body>
</html>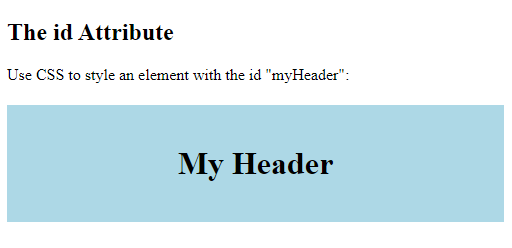
หมายเหตุ: ชื่อ id นั้นคำนึงถึงตัวพิมพ์เล็กและใหญ่! ชื่อรหัสต้องมีอักขระอย่างน้อยหนึ่งตัว ไม่สามารถขึ้นต้นด้วยตัวเลข และต้องไม่มีช่องว่าง (เว้นวรรค แท็บ ฯลฯ)
ความแตกต่างระหว่าง Class และ ID
Class สามารถใช้กับองค์ประกอบ HTML หลายรายการได้ ในขณะที่ id จะต้องใช้โดยองค์ประกอบ HTML เดียวเท่านั้นภายในเพจ:
ตัวอย่าง
<!DOCTYPE html>
<html>
<head>
<style>
/* Style the element with the id "myHeader" */
#myHeader {
  background-color: lightblue;
  color: black;
  padding: 40px;
  text-align: center;
}

/* Style all elements with the class name "city" */
.city {
  background-color: tomato;
  color: white;
  padding: 10px;
}
</style>
</head>
<body>

<h2>ความแตกต่างระหว่าง Class และ ID</h2>
<p>ชื่อ Class สามารถใช้กับองค์ประกอบ HTML หลายรายการได้ ในขณะที่ชื่อรหัสจะต้องใช้โดยองค์ประกอบ HTML เดียวเท่านั้นภายในเพจ:</p>

<!-- An element with a unique id -->
<h1 id="myHeader">My Cities</h1>

<!-- Multiple elements with same class -->
<h2 class="city">London</h2>
<p>London is the capital of England.</p>

<h2 class="city">Paris</h2>
<p>Paris is the capital of France.</p>

<h2 class="city">Tokyo</h2>
<p>Tokyo is the capital of Japan.</p>

</body>
</html>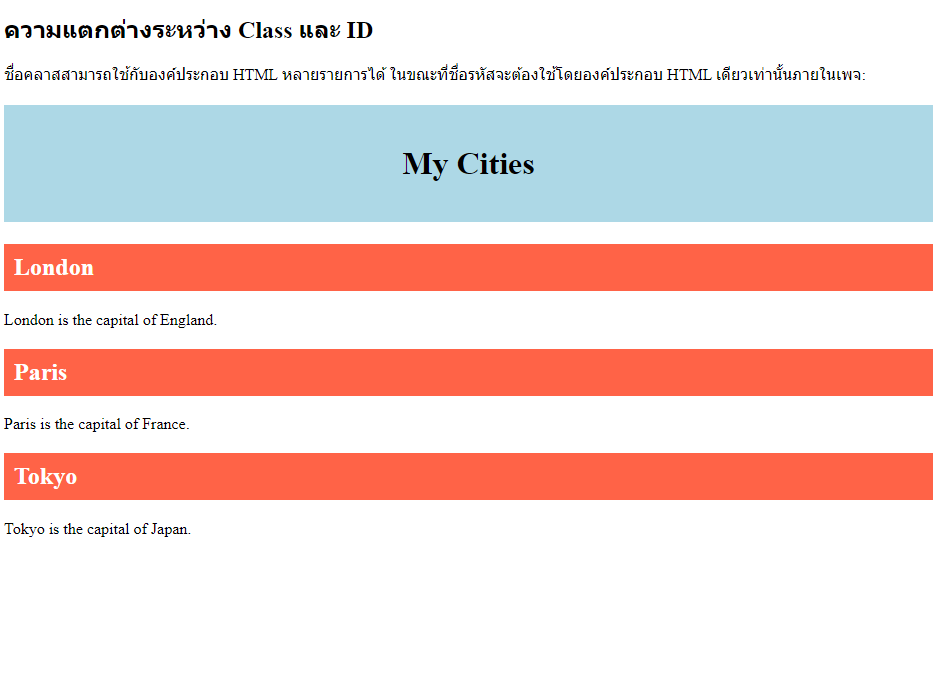
วิธีการใช้ Bookmark กับ ID และลิงก์
Bookmark ใช้เพื่ออนุญาตให้ผู้อ่านข้ามไปยังส่วนใดส่วนหนึ่งของหน้าเว็บ จะมีประโยชน์มากหากหน้าเว็บของคุณยาวมาก
หากต้องการใช้บุ๊กมาร์ก คุณต้องสร้างบุ๊กมาร์กก่อน แล้วจึงเพิ่มลิงก์ไปยังบุ๊กมาร์ก
จากนั้นเมื่อคลิกลิงก์ หน้าจะเลื่อนไปยังตำแหน่งที่มีบุ๊กมาร์ก
ตัวอย่าง
ขั้นแรก สร้างบุ๊กมาร์กด้วย id Attribute:
<h2 id="C4">Chapter 4</h2>จากนั้น เพิ่มลิงก์ไปยังบุ๊กมาร์ก (“ข้ามไปที่บทที่ 4”) จากภายในหน้าเดียวกัน:
ตัวอย่าง
เมื่อคลิกที่ข้อความ Jump to Chapter 4 / Jump to Chapter 10 หน้าจะเลื่อนไปแสดงที่ Chapter นั้น
<!DOCTYPE html>
<html>
<body>

<p><a href="#C4">Jump to Chapter 4</a></p>
<p><a href="#C10">Jump to Chapter 10</a></p>

<h2>Chapter 1</h2>
<p>This chapter explains ba bla bla</p>

<h2>Chapter 2</h2>
<p>This chapter explains ba bla bla</p>

<h2>Chapter 3</h2>
<p>This chapter explains ba bla bla</p>

<h2 id="C4">Chapter 4</h2>
<p>This chapter explains ba bla bla</p>

<h2>Chapter 5</h2>
<p>This chapter explains ba bla bla</p>

<h2>Chapter 6</h2>
<p>This chapter explains ba bla bla</p>

<h2>Chapter 7</h2>
<p>This chapter explains ba bla bla</p>

<h2>Chapter 8</h2>
<p>This chapter explains ba bla bla</p>

<h2>Chapter 9</h2>
<p>This chapter explains ba bla bla</p>

<h2 id="C10">Chapter 10</h2>
<p>This chapter explains ba bla bla</p>

<h2>Chapter 11</h2>
<p>This chapter explains ba bla bla</p>

<h2>Chapter 12</h2>
<p>This chapter explains ba bla bla</p>

<h2>Chapter 13</h2>
<p>This chapter explains ba bla bla</p>

<h2>Chapter 14</h2>
<p>This chapter explains ba bla bla</p>

<h2>Chapter 15</h2>
<p>This chapter explains ba bla bla</p>

</body>
</html>Chapter 1
This chapter explains ba bla bla
Chapter 2
This chapter explains ba bla bla
Chapter 3
This chapter explains ba bla bla
Chapter 4
This chapter explains ba bla bla
Chapter 5
This chapter explains ba bla bla
Chapter 6
This chapter explains ba bla bla
Chapter 7
This chapter explains ba bla bla
Chapter 8
This chapter explains ba bla bla
Chapter 9
This chapter explains ba bla bla
Chapter 10
This chapter explains ba bla bla
Chapter 11
This chapter explains ba bla bla
Chapter 12
This chapter explains ba bla bla
Chapter 13
This chapter explains ba bla bla
Chapter 14
This chapter explains ba bla bla
Chapter 15
This chapter explains ba bla bla
หรือเพิ่มลิงก์ไปยังบุ๊กมาร์ก (“ข้ามไปที่บทที่ 4”) จากหน้าอื่น:
<a href="html_demo.html#C4">Jump to Chapter 4</a>การใช้ Attribute id ใน JavaScript
id ใน JavaScript ยังสามารถใช้ Attribute เพื่อทำงานบางอย่างสำหรับองค์ประกอบเฉพาะนั้น
JavaScript สามารถเข้าถึงองค์ประกอบด้วย id เฉพาะด้วย getElementById() วิธีใช้:
ตัวอย่าง
ใช้ Attribute id เพื่อจัดการข้อความด้วย JavaScript:
<!DOCTYPE html>
<html>
<body>

<h2>การใช้ Attribute id ใน JavaScript</h2>
<p>JavaScript สามารถเข้าถึงองค์ประกอบด้วย id ที่ระบุโดยใช้ getElementById():</p>

<h1 id="myHeader">Hello World!</h1>
<button onclick="displayResult()">Change text</button>

<script>
function displayResult() {
  document.getElementById("myHeader").innerHTML = "Have a nice day!";
}
</script>

</body>
</html>การใช้แอตทริบิวต์ id ใน JavaScript
JavaScript สามารถเข้าถึงองค์ประกอบด้วย id ที่ระบุโดยใช้ getElementById():
Hello World!
สรุปบท
- Attribute id ใช้เพื่อระบุรหัสเฉพาะสำหรับองค์ประกอบ HTML
- ค่าของ id แอตทริบิวต์ต้องไม่ซ้ำกันในเอกสาร HTML
- Attribute id ถูกใช้โดย CSS และ JavaScript เพื่อจัดรูปแบบ/เลือกองค์ประกอบเฉพาะ
- ชื่อ id นั้นคำนึงถึงตัวพิมพ์เล็กและใหญ่!
- Attribute id นี้ยังใช้เพื่อสร้างบุ๊กมาร์ก HTML
- JavaScript สามารถเข้าถึงองค์ประกอบด้วย id เฉพาะด้วย getElementById()