ชั้น 29 ออฟฟิศเศส แอท เซ็นทรัลเวิลด์

999/9 พระราม 1 กรุงเทพฯ 10330

บริการตลอด 24 ชั่วโมง

ทุกวัน ไม่เว้นวันหยุด

0-2107-3466

โทรเลยดิจะรออะไร

Home Wordpress วิธีติดตั้งและเชื่อมต่อ Google Site Kit บน WordPress

วิธีติดตั้งและเชื่อมต่อ Google Site Kit บน WordPress

Google Site Kit บน WordPress เป็นปลั๊กอินจาก Google ที่ช่วยเชื่อมต่อบริการต่าง ๆ เช่น Google Search Console, Google Analytics, PageSpeed Insights และ Google AdSense เข้ากับเว็บไซต์ WordPress ทำให้คุณสามารถดูข้อมูลสถิติและประสิทธิภาพของเว็บไซต์ได้โดยตรงจากหน้า WordPress Admin
เข้าสู่ระบบ (Login) เข้าใช้งานระบบหลังบ้าน WordPress
WordPress login form centered on a light page with Username and Password fields, Remember Me checkbox, and Log In button inside a red-outlined box, plus a speech-bounded Thai label reading ‘01 ลงชื่อเข้าสู่ระบบ WordPress’.

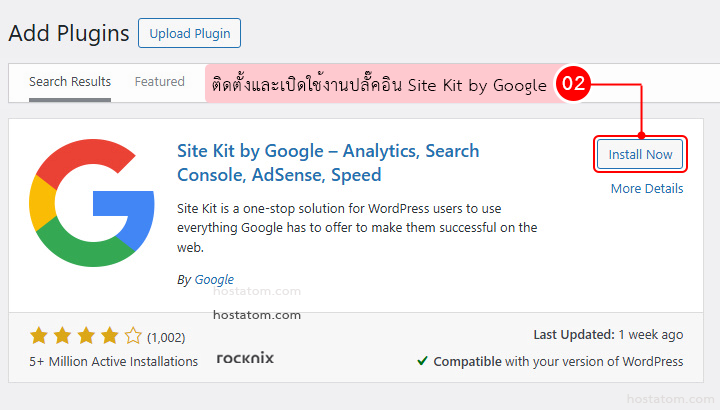
ติดตั้ง และเปิดใช้งาน (Activate) ปลั๊กอิน Site Kit by Google

WordPress Admin: Site Kit by Google plugin card with Google logo, description and Install Now button.

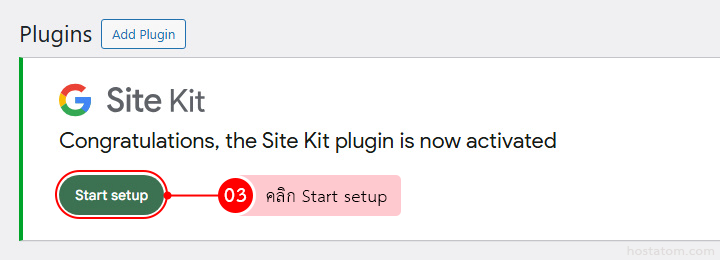
ระบบจะแสดงหน้าต่างต้อนรับของ Site Kit ให้คลิกปุ่ม “Start setup” เพื่อเริ่มขั้นตอนการตั้งค่า

Site Kit activation screen with the message 'Congratulations, the Site Kit plugin is now activated', a green Start setup button, and a Step 03 badge next to a pink label.

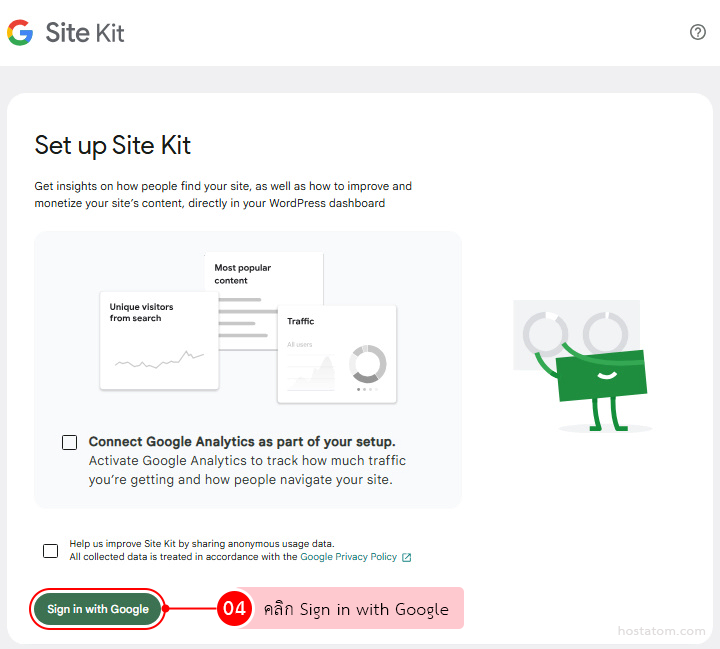
ระบบจะนำคุณเข้าสู่หน้าตั้งค่าของ Site Kit ให้คลิกปุ่ม “Sign in with Google” เพื่อเริ่มเชื่อมต่อบัญชี Google กับเว็บไซต์ WordPress

Screenshot of Google Site Kit setup page with a 'Set up Site Kit' panel and a green 'Sign in with Google' button at the bottom, inviting the user to sign in to connect Google Analytics and view site insights.
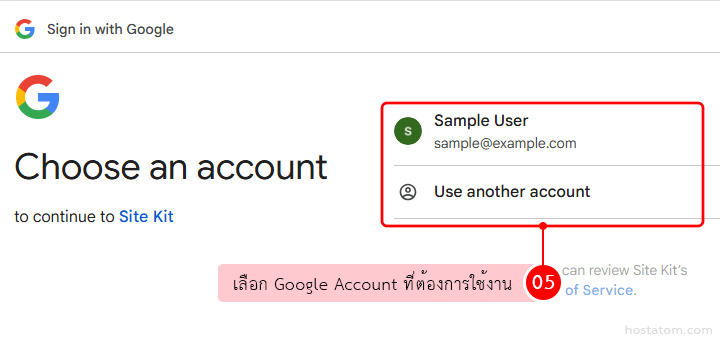
เลือกบัญชี Google ที่ต้องการเชื่อมต่อ หากยังไม่มีบัญชีในรายการเลือก “Use another account” เพื่อเข้าสู่ระบบด้วยบัญชีอื่นได้
Google sign-in screen with 'Choose an account' and a highlighted Sample User account (sample@example.com) plus 'Use another account' option; a Thai instruction bubble overlays the UI.

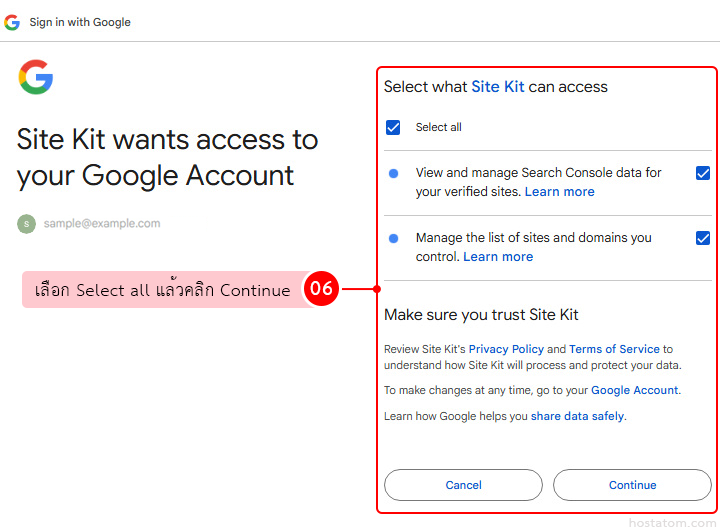
ในขั้นตอนการให้สิทธิ์การเข้าถึงข้อมูล เลือก Select all เพื่ออนุญาตให้ Site Kit เข้าถึงข้อมูลที่จำเป็นได้อย่างครบถ้วน

Consent dialog asking to grant Site Kit access to your Google Account, with options to select all and manage Search Console data and sites; Cancel and Continue buttons.

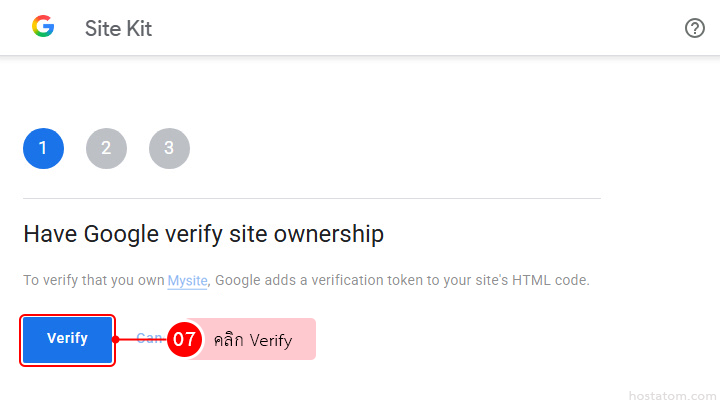
ระบบจะทำการตรวจสอบสิทธิ์ ให้คลิกปุ่ม “Verify” เพื่อยืนยันว่าคุณเป็นเจ้าของเว็บไซต์นี้จริง

Screenshot of Google Site Kit setup: step 1 'Have Google verify site ownership' with a blue 'Verify' button and a pink tooltip labeled in Thai next to a red circular '07' badge.

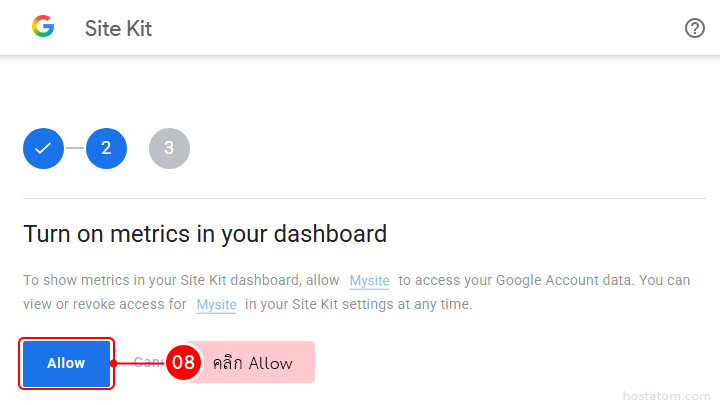
คลิก “Allow” เพื่ออนุญาตให้ Site Kit ดึงข้อมูลและแสดงผลบน WordPress

Google Site Kit permission prompt asking to allow access to metrics, with a highlighted blue 'Allow' button
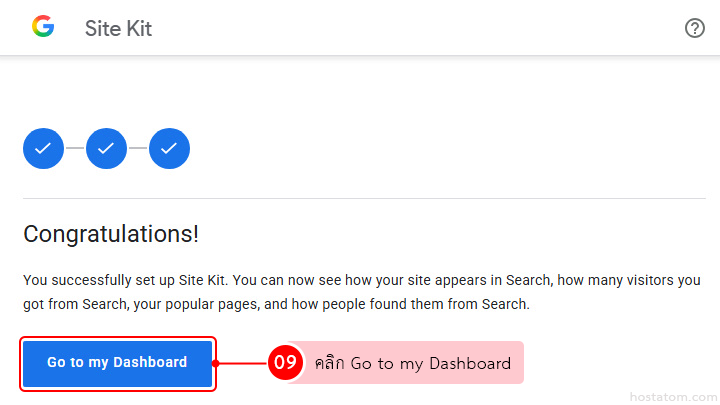
คลิก “Go to my Dashboard” เพื่อกลับเข้าสู่หน้าแดชบอร์ดของ Site Kit บนเว็บไซต์ของคุณ
Site Kit success screen showing three checkmarks, a 'Congratulations!' heading, explanatory text, and a blue 'Go to my Dashboard' button.
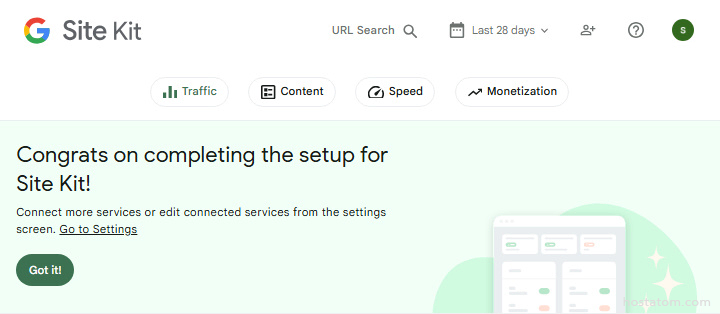
เมื่อติดตั้งและเชื่อมต่อ Site Kit แล้ว จะเห็นข้อมูลแบ่งเป็น 4 แถบหลัก ได้แก่ Traffic (ยอดผู้เข้าชมและแหล่งที่มา), Content (หน้าที่ได้รับความนิยม), Speed (ความเร็วในการโหลดเว็บไซต์) และ Monetization (รายได้จากโฆษณา AdSense)

ดูรายละเอียดข้อมูลแต่ละแถบได้ที่ วิธีดูข้อมูลภาพรวมเว็บไซต์ผ่าน Site Kit บน WordPress

Site Kit setup complete confirmation with a green Got it button and mint background illustration.

คำแนะนำและวิธีแก้ไขปัญหาเบื้องต้น

  • ไม่เห็นข้อมูลสถิติ? หากเพิ่งเชื่อมต่อครั้งแรก อาจต้องรอ 2-3 วันก่อนข้อมูลจะแสดงผล
  • เชื่อมต่อไม่สำเร็จ? ตรวจสอบว่าบัญชี WordPress มีสิทธิ์ระดับ Administrator และไม่มีปลั๊กอิน Cache หรือ Security/Firewall บล็อกการเชื่อมต่อ
  • ยังพบปัญหา? ไปที่ Site Kit → Settings → Admin Settings แล้วคลิก Reset Site Kit แล้วเริ่มเชื่อมต่อใหม่อีกครั้ง หรือดูแนวทางแก้ไขเพิ่มเติมที่ศูนย์ช่วยเหลือของ Site Kit