เราจะขอใช้การตั้งค่าที่สำคัญดังต่อไปนี้ เพื่ออ้างอิงการตั้งค่า Email กรุณาแทนค่า you ด้วยชื่อ username ของคุณ และแทนค่า your-domain.com ด้วยโดเมนของคุณ
Email: you@your-domain.com
Incoming (POP) server: mail.your-domain.com
Outgoing (SMTP) server: smtp.your-domain.com
Account / User Name: you@your-domain.com
SMTP Authentication: On (same Username as POP)
SMTP Port: 587
1. กดปุ่ม Blackberry บนโทรศัพท์ของคุณ

2. ค้นหา และเลือก Setup

3. เลือก E-mail Setting หรือ E-mail Account
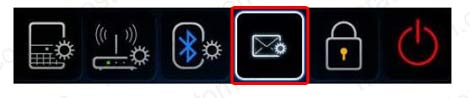
4. บางรุ่นมีขั้นตอนเพิ่มเติม ให้คุณเลือกประเภท ของ Account ที่จะติดตั้ง และเลือก Internet Mail Account ถ้าโทรศัพท์ของคุณขึ้นหน้าจอดังภาพ
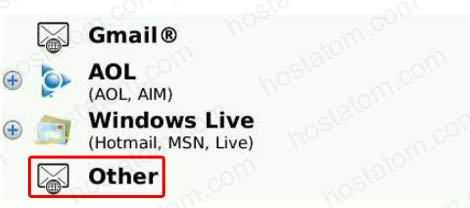
5. เลือก Add หรือ Set up another email account แล้วจากนั้นเลื่อนลงมาเลือก Other
6. ใส่ E-mail Address เช่น you@your-domain.com และ Password
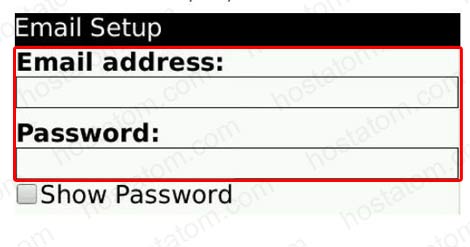
7. คลิก Next หรือ Continue เพื่อจบการ Setup
การตั้งค่าเป็นอันเสร็จเรียบร้อย จากนี้ Blackberry จะสามารถรับ-ส่ง E-Mail ได้แล้ว